Announcement

Collapse
No announcement yet.

Got some workspace...

Collapse
This topic is closed.
X
X
 
  • Filter
  • Time
  • Show
Clear All
new posts

  • 60dgrzbelow0
    replied
    Originally posted by 60dgrzbelow0 View Post
    http://s557.photobucket.com/albums/s...iafilter=image

    Okay... It has been a while since I looked at John's incredible shop for motivation... but owing to a recent windfall on getting a pile of lumber for free after doing some favours for a neighbor... I finally decided to start building some decent shelves in my garage so I can at LEAST walk from one end to the other and do more "Mecking" inside the garage than out. My envy of John's Shop has prompted me to create...

    Der FrankenShelfer...

    All I used to build it was some scrap lumber, a 7" Ryobi Chop saw w/ spread stand, a Screw Gun and a box of 3.5" & 1" deck screws. The materials and dimensions of this modular unit are as follows:

    4- 2" X 4" X 7' Vertical Corner End Supports
    2- 2" X 4" X 7' Center and Rear Verticals (Shelf Supports)
    4- 1" X 6" X 7" Long Horizontals (Top and Bottom Runners)
    8- 2" X 4" X 20" Short Bracing Horizontals (Front to Back)
    12- 2" X 2" X 20" Under Shelf Supports (Staggered for both Shelf Sections)
    18- 1" X 6" X 40" Flat Shelf Segments (Trimmed to Fit) Modular
    18- 1" X 6" X 20" Shelf Bottom Braces
    Box of 3.5" Deck Screws
    Box of 1" Wood Screws

    I decided to make the shelving modular so I can stack long tools and tall tool boxes should the need arise. The materials went together nicely and once built, proved very strong indeed. The unit is perfectly symmetrical and stands upright without the need of being bolted to a wall or the floor with anchors and lag bolts that would defeat the purpose of being able to hike the thing around in various places in the garage as needed. When the shelves are removed, it can be manoeuvred around the garage in various places as needed on flat dollies. The one foot space between the top of the shelf unit and the ceiling will be used to store the rest of the lumber I'm tripping over right now...
    Okay... just a small addition on the subject of maximising space and utility... I took some of that old lumber mentioned above and added a stack of HUGE pine shelving that same man tossed away last month and built a nice and robust Tool Chest-Mini-Bench that I scaled to fit onto one those cheap Harbour Freight Roll-A-Round Dollies. I made it solid enough to framm away on if need be and today I discovered yet another need for it. I am working on the 4th generation of The FrankInjector Machine and needed a table saw to fabricate part of the service tray for "Frank"...but I did not have a table-ready saw table for my saw... so I moved the Tool Chest off that new, little roll-around table and after aligning and drilling a few holes... I mounted and used the saw as illustrated here:

    Store your photos and videos online with secure storage from Photobucket. Available on iOS, Android and desktop. Securely backup your memories and sign up today!


    It's not a Big Deal in the scheme of things.... but few of us have a business necessity like John and Ben, nor the luxury of having a huge, multi-level garage for storage. And besides, in some cases...making the most of what someone else has thrown away can make the difference in allowing me the chance of having a few more square feet of space in my garage ...and I do like the idea of killing two or three birds with a single, problem solving stone whenever I get the chance!
    Last edited by 60dgrzbelow0; 11-15-2011, 12:26 PM.

    Leave a comment:


  • ForcedFirebird
    replied
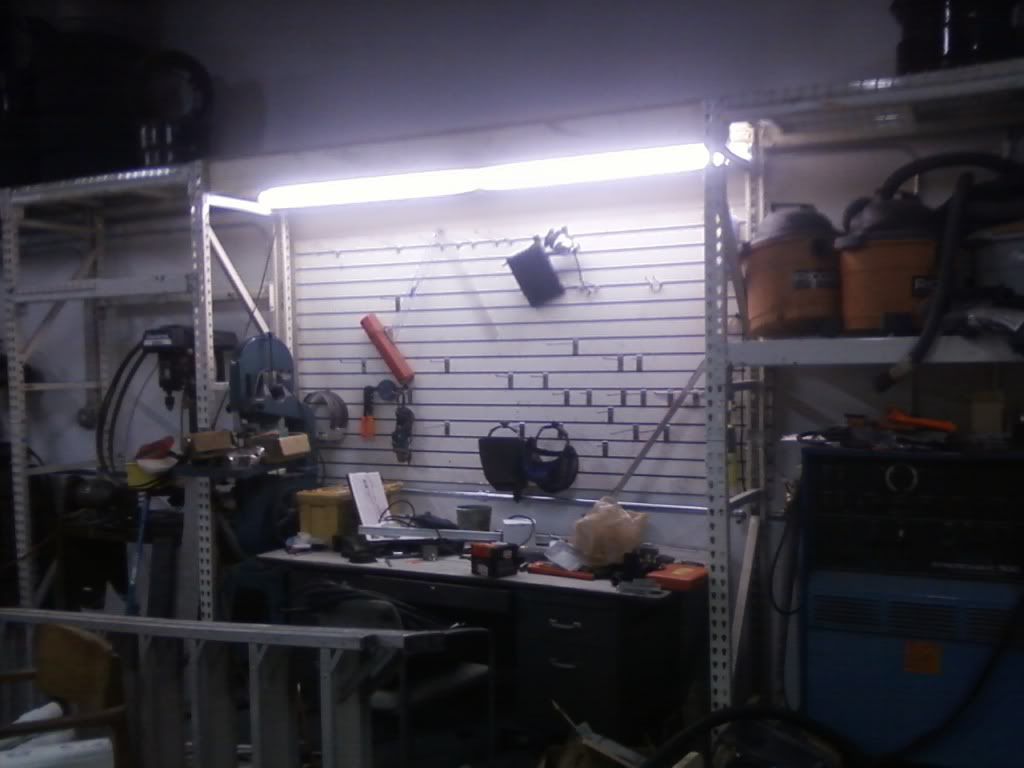
    Lappy is right next to lift for diagrams and such


    Welded some nubs to the shelves and used an old solid door for a work bench...


    New porting station on Ben's desk...

    Leave a comment:


  • ForcedFirebird
    replied
    Got the welding station just about finished, have a little more cleaning to do (sorry for celly pics)..

    Leave a comment:


  • bszopi
    replied
    Originally posted by dskopek View Post
    We have to install lables telling the voltage and transformer connection, delta-delta or delta-wye or the inspectors will never sign off. You are right about the manufacturer's data plate will list both 208/240. We also have to lable the panels with arc flash data before we are done now.
    We've been showing arc flash warning stickers as required for each panel, as well as arc fault values at each panel for many years now. Talked to a couple guys who go out into the field more than I do, and even they said that you see voltage ratings on panels sometimes, but more often than not, there is no identification on panel voltage.

    Leave a comment:


  • dskopek
    replied
    We have to install lables telling the voltage and transformer connection, delta-delta or delta-wye or the inspectors will never sign off. You are right about the manufacturer's data plate will list both 208/240. We also have to lable the panels with arc flash data before we are done now.

    Leave a comment:


  • bszopi
    replied
    Really? I know I've seen 480v panels labeled, and some 208v panels labeled, but I know not all are labeled. I don't think we ever say anything either in our designs telling the contractor to label panels as such. Hmm... Unfortunately, you can't look at the manufacturer's label plate either, as all lower voltage panels are capable of 240v, regardless if they are run as 240v or 208v.

    Leave a comment:


  • dskopek
    replied
    Originally posted by bszopi View Post
    If you can see the transformer bank (assuming its a pole mount), 208v/3ph will have 3 equally sized transformers. 240v/3ph will have 1 transformer in the back larger than the others. If you have the cover off, you can also measure phase to phase with a multimeter. Or, if you have a 2-pole receptacle, you can measure across the legs there.
    Also the distubution panel should say if it is 208 or 240. That is the code in most states. I have to install the proper lable here in Wis when we install power distubution panels.

    Leave a comment:


  • bob442
    replied
    looks like you guys should have everything orginized in a day or so lol.

    I'm gonna have to splurge and ask, Hows the Maro coming?

    Leave a comment:


  • bszopi
    replied
    If you can see the transformer bank (assuming its a pole mount), 208v/3ph will have 3 equally sized transformers. 240v/3ph will have 1 transformer in the back larger than the others. If you have the cover off, you can also measure phase to phase with a multimeter. Or, if you have a 2-pole receptacle, you can measure across the legs there.

    Leave a comment:


  • SappySE107
    replied
    lift works flawless all the way up now This shop space is really nice.

    Leave a comment:


  • ForcedFirebird
    replied
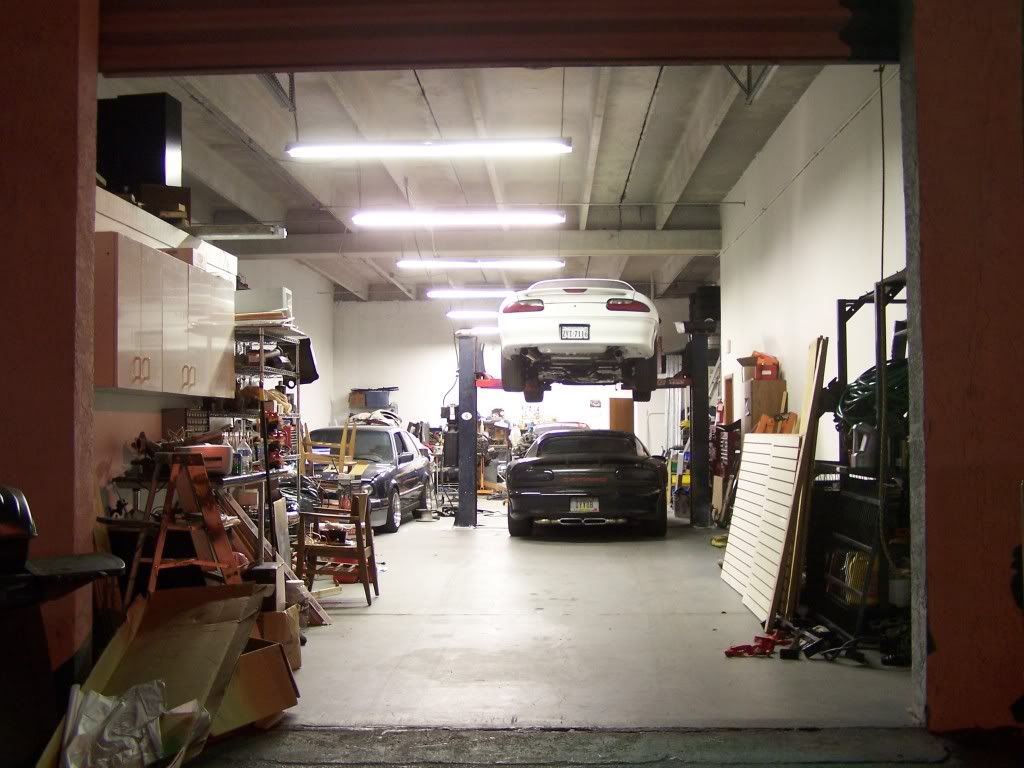
    We still have lot of cleaning to do, air lines to run etc, but here's where we are...

    Leave a comment:


  • ForcedFirebird
    replied
    Originally posted by bszopi View Post
    You didn't know that before you moved in? Is it 240v/3ph or 208v/3ph?
    How can we tell?

    Leave a comment:


  • pocket-rocket
    replied
    Originally posted by SappySE107 View Post
    we never pulled the cover to know. Ill stick my tongue to it and tell you if its 208 or 240.
    Pics and video or ban!

    Leave a comment:


  • SappySE107
    replied
    we never pulled the cover to know. Ill stick my tongue to it and tell you if its 208 or 240.

    Leave a comment:


  • bszopi
    replied
    You didn't know that before you moved in? Is it 240v/3ph or 208v/3ph?

    Leave a comment:

Working...
X